


Ride Velo recently went on a bike maintenance course and learnt the proper way to fix a puncture. However, we haven't had a puncture recently. What did happen, though, was that some nasty person nicked my wheels when my bike was chained up outside... So £200 on Wiggle later, I'd replaced all the stolen bits with nice shiny new ones, and some more for good measure. So, in the spirit of sharing (not stealing), here's how to fix a puncture properly:
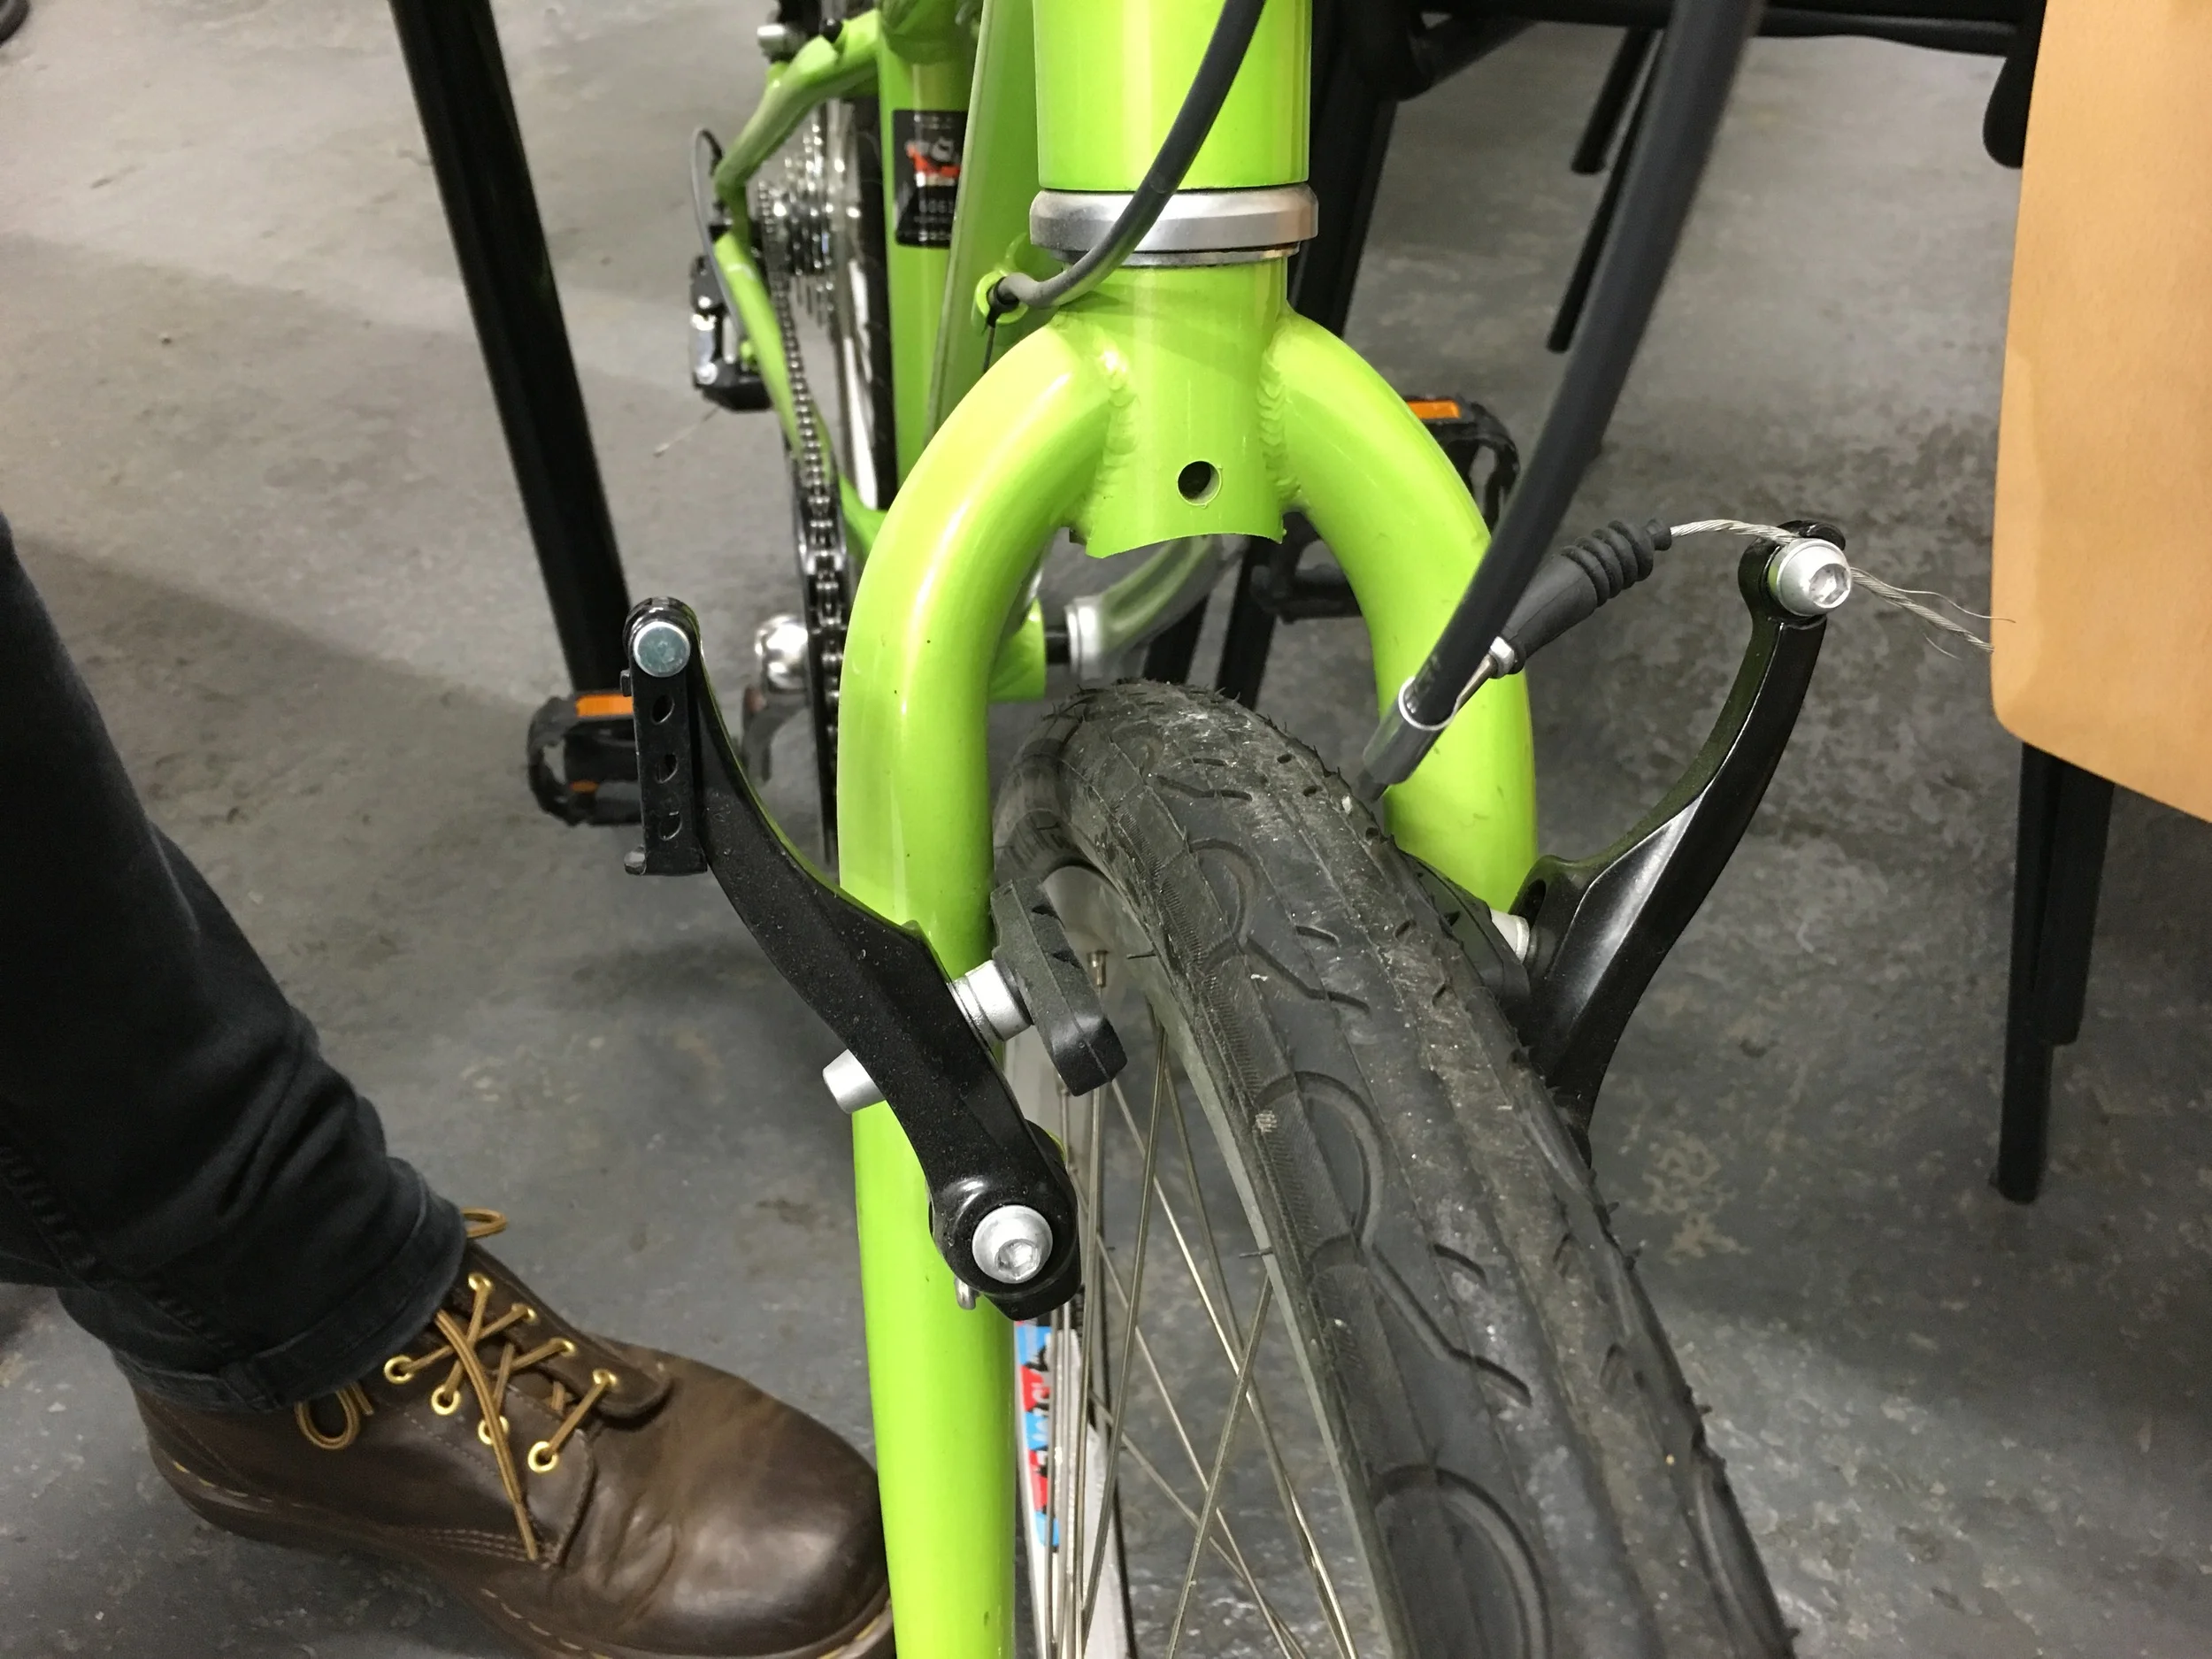
V brakes pull apart
Firstly, open your brakes - on a road bike there will be a little lever on top which you flip up, or on a mountain bike, you'll probably have cantilever brakes which you squeeze in towards the wheel and pull the cable out. V brakes pull apart.
Next, flip your bike upside down and rest it on it's saddle. The easiest way to do this is by leaning over your bike, grasping it on either side of the frame near the hubs, then flipping it over. Make sure your bike is in a high gear by running the chain onto the smallest sprocket,

Cantilever brakes open by squeezing them together and pulling out the cable
Now you're ready to disconnect the quick release mechanism by opening the lever which should totally loosen it. Otherwise, unbolt your wheel. To lift a rear wheel out, pull your derailleur right back and gently lift the wheel out. It should come loose very easily once the derailleur is out of the way.
Deflate your tyre if there's any air left inside it by removing the valve cap, removing the securing ring, unscrewing the top of the Presta valve if you have a road bike, then depressing the it until all the air escapes.

Get your tyre levers ready, pull the tyre towards you, and hook the tyre levers under the tyre and lever it over the rim. There's a little hook on the side which is to hook around one spoke securing one of the levers in place, while you slide the other one around. Run it round until one of the levers falls out - this means that your tyre is free!
Making sure that the valve is at the bottom of the wheel so that you release it last, lift the inner tube out being careful not to damage the valve.

How my bike looked after the thieves got to it...
Inside, you'll notice that your wheel will be lined with coloured tape - this is designed to protect the inner tube from the nipples that secure the spokes. Make sure the tape is intact and there's nothing protruding to puncture your inner tube. Next try and identify the cause of the puncture; inspect the tyre by squeezing it, running your fingers around the inside and out. If there's a big hole in the tyre, you may have to replace it.
Your tyre has a lot of information printed into it - the size in inches or millimetres e.g. 406 x 40. The diameter of the tyre has to be the same as the wheel (usually 700mm) but the width can be different - the narrower the faster and less forgiving it will be. Look for the 'drive' on the tyre which is often an arrow sign. This shows you the direction in terms of the rotation of the tyre that it should be fitted which should be forwards obviously! If there's no arrow, have a look at the pattern on the design of the tread. Tyre pressure information will also be stamped onto it for instance 40 - 65 psi for a kid's mountain bike. Low = comfort but slow; high = faster but less resistance so a bumpy ride!
Once you've discovered the cause of your puncture, work out whether you can repair your inner tube, or just throw it away! If you see a 'snake bite' or two holes together, these are usually caused by low pressure and you'll need a new inner tube. Ditto a faulty valve or simple blow out. If you're lucky and there's a single penetrative hole then you can fix it! Ride Velo will show you how next time.

Gently push the inner tube into position, removing any excess air
Enough analysis now -to fix your puncture, check the direction of your tyre, check which side the chain will sit if it's a rear tyre, place the valve hole at the top. With one wire bead of the tyre secure inside the rim, inflate your new tube very slightly. Gently push the inner tube into place, removing any excess air.
Now the tricky bit, with two hands, walk your hands around to the 6 o'clock position being careful not to pinch the inner tube. Make small progress little by little until it starts to get tough and your hands are almost meeting in the middle. The trick is to pinch, twist and pull up the outside bead, massaging the tyre and bending it towards you. The tyre will suddenly just snap into position. Well done - it likes you :)

The tricky bit - massaging the tyre into submission
Ok now it's time to secure your Presta valve with the screw on ring. Inflate your tyre again, visually inspecting it as you go to make sure it doesn't re-puncture for any reason then replace the plastic valve cap. For a rear wheel, line up the cassette on the correct side and pull back the derailleur. Position it over the highest gear and drop the wheel into place. Secure your quick release mechanism with the lever pointing to the ground - remember it doesn't need to be too tight! Turn the pedals a couple of times to check everything's moving smoothly then grasp the frame on both sides near the hubs and flip your bike over again.

Re-secure the vales, replace caps and tighten brakes
Finally, remember to re-secure your brakes before setting off. Job done (blue plastic gloves optional)!